
Putting Together a DJ Starter Kit: What You Really Need for Your First Gig
Imagine this: You’ve spent months curating your library, perfecting your transitions in your bedroom and recording mixes. Now, the moment has arrived: you have booked your first actual gig.
Suddenly, the reality of live performance sets in. The speakers you use at home won't fill a village hall, your short cables won't reach the venue's power sockets and you are terrified of something going wrong in front of a live crowd. Transitioning from a bedroom hobbyist to a gigging professional is a massive leap and the gear you choose can be the difference between a seamless, floor-filling set and a stressful night of technical difficulties.
At DY Pro Audio, we see this transition all the time in our Kent showroom. Building your first DJ kit doesn't mean you need to remortgage your house for club-standard festival gear, but it does mean you need to invest smartly in reliable, professional-grade DJ equipment.
In this guide, we will break down the core components you actually need, where to save your budget, where to invest and how to wire it all together without blowing a fuse.
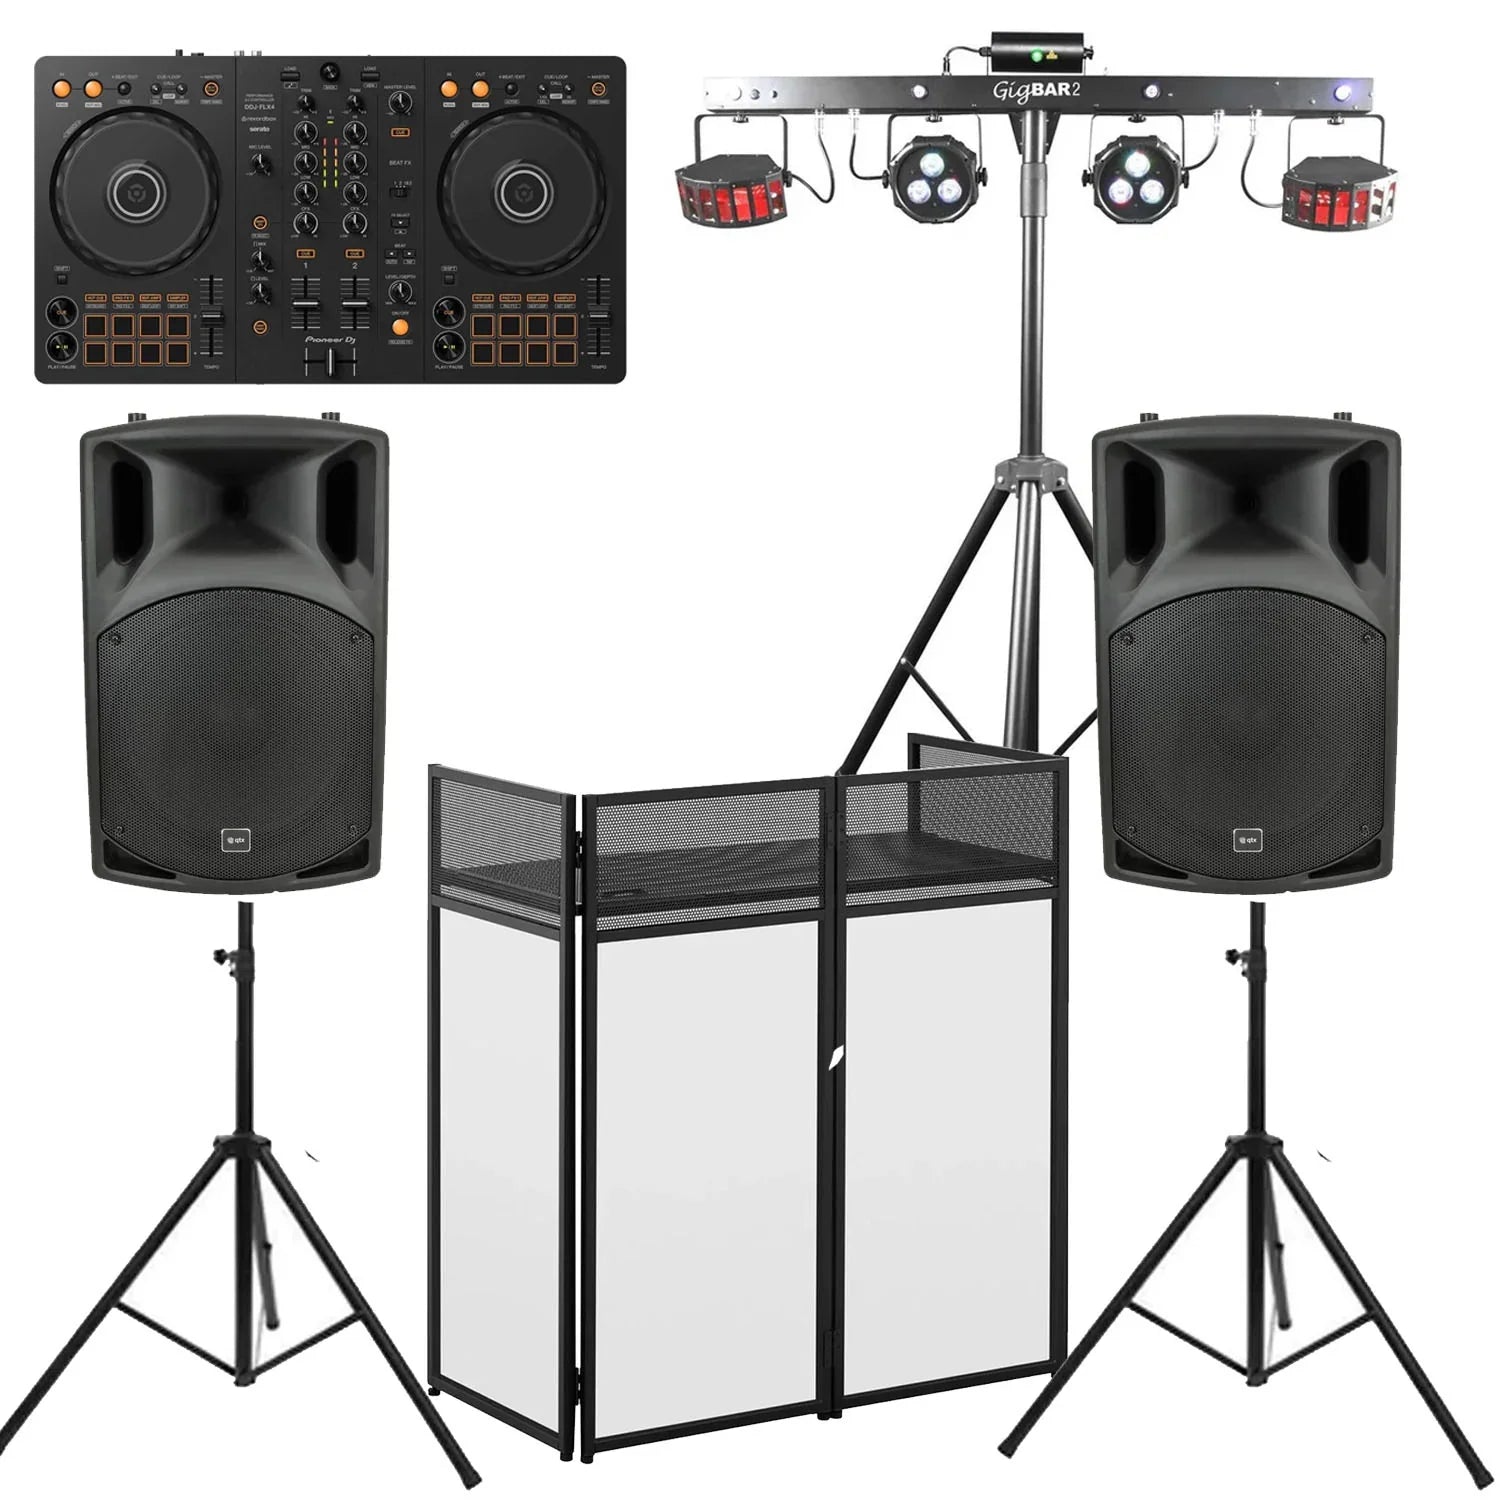
The Core Components of Your First DJ Set
A professional mobile setup requires more than just a laptop. You need a complete signal chain: control, amplification, support and accessories.
1. The Brains: DJ Controller vs. Modular Setup
The centrepiece of your rig is what you will be touching all night. For your first mobile gig, portability and reliability are key.
The DJ Controller
A DJ controller is an all-in-one unit that combines two decks and a central mixing section. It dictates the software on your laptop (like Rekordbox, Serato, or Traktor). For 90% of beginners, putting together a DJ set, a controller is the smartest choice. It is compact, requires only one power supply and is easy to transport.
-
Technical Insight: When buying a controller for live gigs, pay close attention to the outputs. Entry-level controllers often only have unbalanced RCA (Phono) outputs. While fine for home, these can introduce hum and noise over long cable runs. Look for a controller with balanced XLR outputs (like the Pioneer DJ XDJ-RX3 All-In-One DJ System) for professional, noise-free connection to your PA system.
The Traditional Route: DJ Mixer and DJ Turntables
If you are a purist playing vinyl or using standalone media players (like CDJs), you are building a modular setup. You will need a central DJ mixer paired with two DJ turntables or media players.
-
The Reality: While this is the industry standard in permanent club booths, it is heavy, requires multiple power outlets, involves complex wiring and is significantly more expensive to build from scratch. Save this for when you are securing residency gigs.
2. The Muscle: Your DJ Speaker Set
Your bedroom studio monitors are designed for "nearfield" listening at low volumes. A live venue requires a dedicated DJ speaker set (PA system) designed to project sound (SPL - Sound Pressure Level) across a room.
-
Active vs. Passive: For a starter kit, always choose Active PA Speakers. These have the amplifiers built directly into the cabinet, perfectly matched to the drivers. It means less gear to carry and less complex maths trying to match amplifier wattage to speaker impedance.
-
Size Matters: A pair of 12-inch active top speakers (like the RCF ART 712-A or Mackie Thump series) is the sweet spot for mobile DJs. They provide enough low-end punch for a standard pub or small hall without breaking your back during load-in.
-
Do you need a subwoofer? For your very first gig (assuming it's a 50-100 capacity room), a good pair of 12-inch or 15-inch tops will suffice. You can always rent or buy a dedicated 15-inch or 18-inch active subwoofer later when you start playing larger weddings or school proms.
3. The Voice: Microphones
Even if you aren't an MC, you need a microphone to make basic announcements (first dances, buffet openings, emergency fire exits).
-
The Solution: You need a rugged, dynamic cardioid microphone. The Shure SM58 is an ideal example. It rejects background noise (crucial when you are standing behind loudspeakers) and are built to survive the rigours of the road.
4. The Skeleton: Stands and Cables
This is where beginners always trip up. You cannot put your expensive PA speakers on chairs or wobbly pub tables.
-
Speaker Stands: Heavy-duty tripod stands (like those from Stagg or StageCore) elevate your speakers above head height. Technical Insight: High frequencies are highly directional and get absorbed by human bodies. If your speakers are on the floor, the back of the room will only hear a muddy bass rumble. Elevate them to project the high-end clarity across the dancefloor.
-
DJ Booth/Table: A folding DJ booth looks professional and hides your messy cabling. If you are using a venue's table, invest in a heavy black cloth to drape over it.
-
Cables: Invest in high-quality, shielded cables. You will need XLR cables to run from your controller to your speakers and IEC power leads. Always buy them 2 to 3 metres longer than you think you need.
Budget vs. Pro Options: Where to Invest
When building your DJ equipment arsenal, your budget is finite. Here is the golden rule of audio: Your system only sounds as good as its weakest link.
Where you can save (The Budget Route):
-
The Controller: You don't need a £3,000 flagship controller for a 50-person birthday party. A reliable mid-tier controller (even something like the Pioneer DJ DDJ-FLX10 4 Channel DJ Controller) will mix tracks perfectly well. The crowd cares about your track selection, not the size of your jog wheels.
-
Lighting: Start with a simple, sound-activated LED wash bar. You can add complex DMX moving heads later once the gigs start paying for themselves.
Where you MUST invest (The Pro Route):
-
The DJ Speaker Set: Never skimp here. Cheap, underpowered speakers will distort when pushed, sound harsh to the audience and blow their tweeters mid-set. Buy a reputable brand like RCF, Pioneer Pro Audio, or Yamaha.
-
Cables & Protection: A cheap, unshielded audio cable will pick up taxi radios and lighting hum. Buy quality cables from day one. Additionally, invest in padded bags or hard flight cases for your gear. The back of a van is a dangerous place for unprotected electronics.
Step-by-Step: Setup and Wiring for the First Gig
Arrive at the venue at least 90 minutes before your start time. Stress comes from rushing. Follow this signal flow:
-
Positioning: Set up your DJ booth. Place your speaker stands on either side, ensuring they are on flat, stable ground. Place your speakers on the stands before raising them to full height.
-
Power (Mains): Run your heavy-duty power extension leads from the venue's wall sockets to your booth. Crucial: Do not turn the wall power on yet. Plug in your laptop, controller and run IEC power cables to your active speakers.
-
Audio Cabling: Connect the Main/Master Outputs of your DJ controller to the Inputs on the back of your active speakers using balanced XLR cables. If your controller only has RCA outputs, you will need RCA-to-XLR or RCA-to-Jack cables (keep these runs as short as possible).
-
The Power-Up Sequence: This prevents loud, speaker-damaging "pops". Turn on your laptop first. Then turn on your DJ controller. Finally, turn on your active speakers. (When packing down at the end of the night, reverse this: Speakers OFF first, then Controller, then Laptop).
-
Soundcheck: Play a familiar track. Start with the master volume on your controller at zero. Slowly bring it up until your controller's LED meters are hitting the green and occasionally bouncing into the yellow (never solid red). Then, walk to the back of the room to ensure the volume is adequate.
The Ultimate Gig Day Checklist
Before you load the car, check your "gig bag" for these lifesavers:
✔ Primary laptop and charger.
✔ DJ Controller and its USB/Power cables.
✔ Professional DJ Headphones (plus the ¼ inch jack adapter!).
✔ Backup music (A USB stick loaded with a pre-recorded mix, just in case your laptop crashes).
✔ Gaffa tape (for securing loose cables to the floor so nobody trips).
✔ Torch/Headlamp (packing down in a dark room is miserable otherwise).
✔ Minimum of two spare XLR cables and one spare power lead.
✔ Four-way power extension blocks (surge protected).
Conclusion
Your first gig is a milestone. By building a sensible DJ kit focused on reliable amplification, solid connections and professional presentation, you completely remove technical anxiety from the equation. This allows you to focus on what you actually got into this business to do: read the crowd, select incredible tracks and keep the dancefloor moving.
If you are putting together your first mobile rig and aren't sure which speakers pair best with your controller, or what cables you need to connect everything up, pop into the DY Pro Audio showroom in Kent or give our team a call. We offer expert, no-pressure advice to help you build a rig you can rely on.

